SIMPLE INSTRUCTIONS TO INSTALL CCOT WINDOW CHANNEL
I purchased the generic window channel from CCOT. It came loose in a big box with three other items that I had purchased. Packaging of the order was poor at its best. A section of the channel was crushed. Repair of the crushed section is described below along with a picture display of the installation.
This is an end shot of the channel. It must be square or the window will not roll up. I used a metal piece 1/4 inch thick to flatten the crushed section. Place the 1/4 inch in the channel and tap down with a hammer.
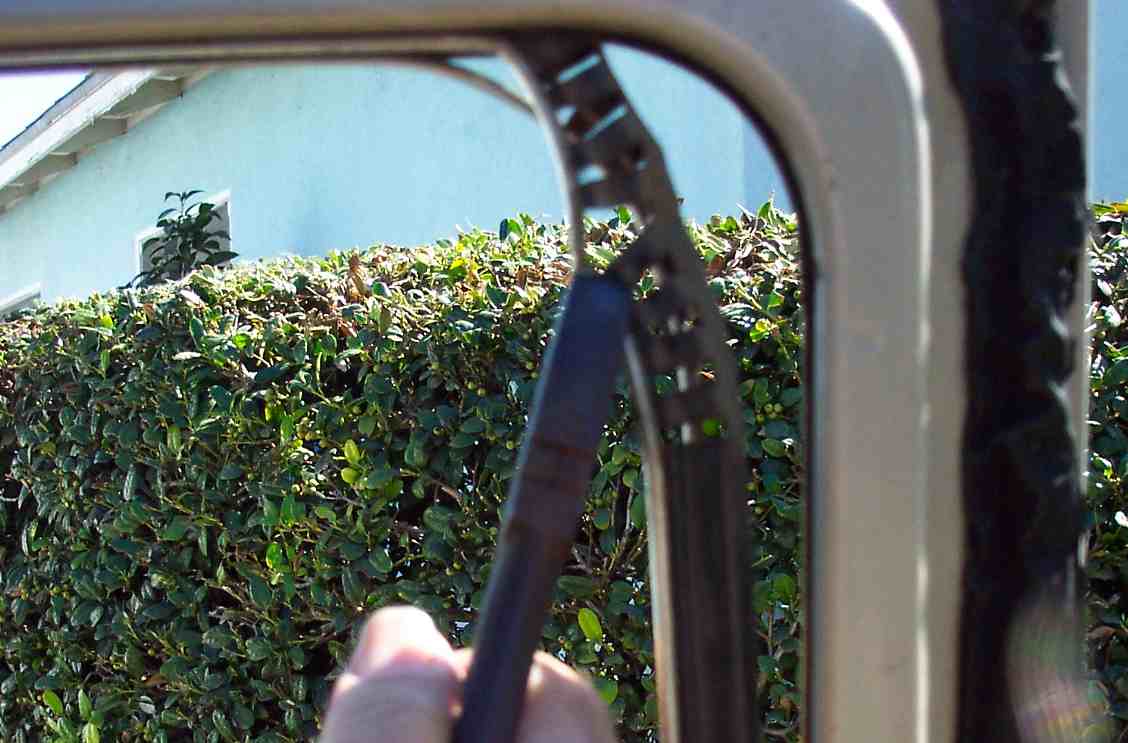
Use pliers to grip the old channel in the corner and pull down.
 Continue to pull on the channel until the top is completely out of the window.
Once the channel is out of the top of the window, pull the channel to the outside of the window frame and completely remove by pulling up. 
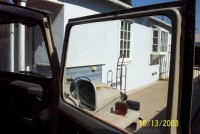
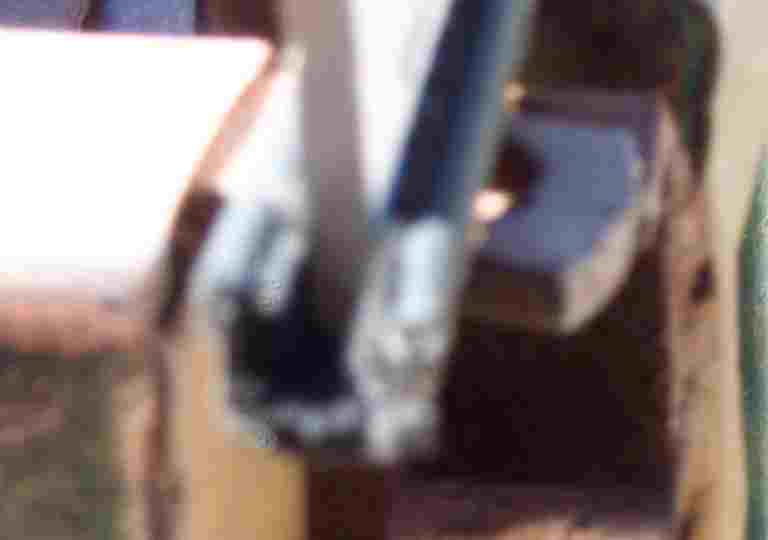
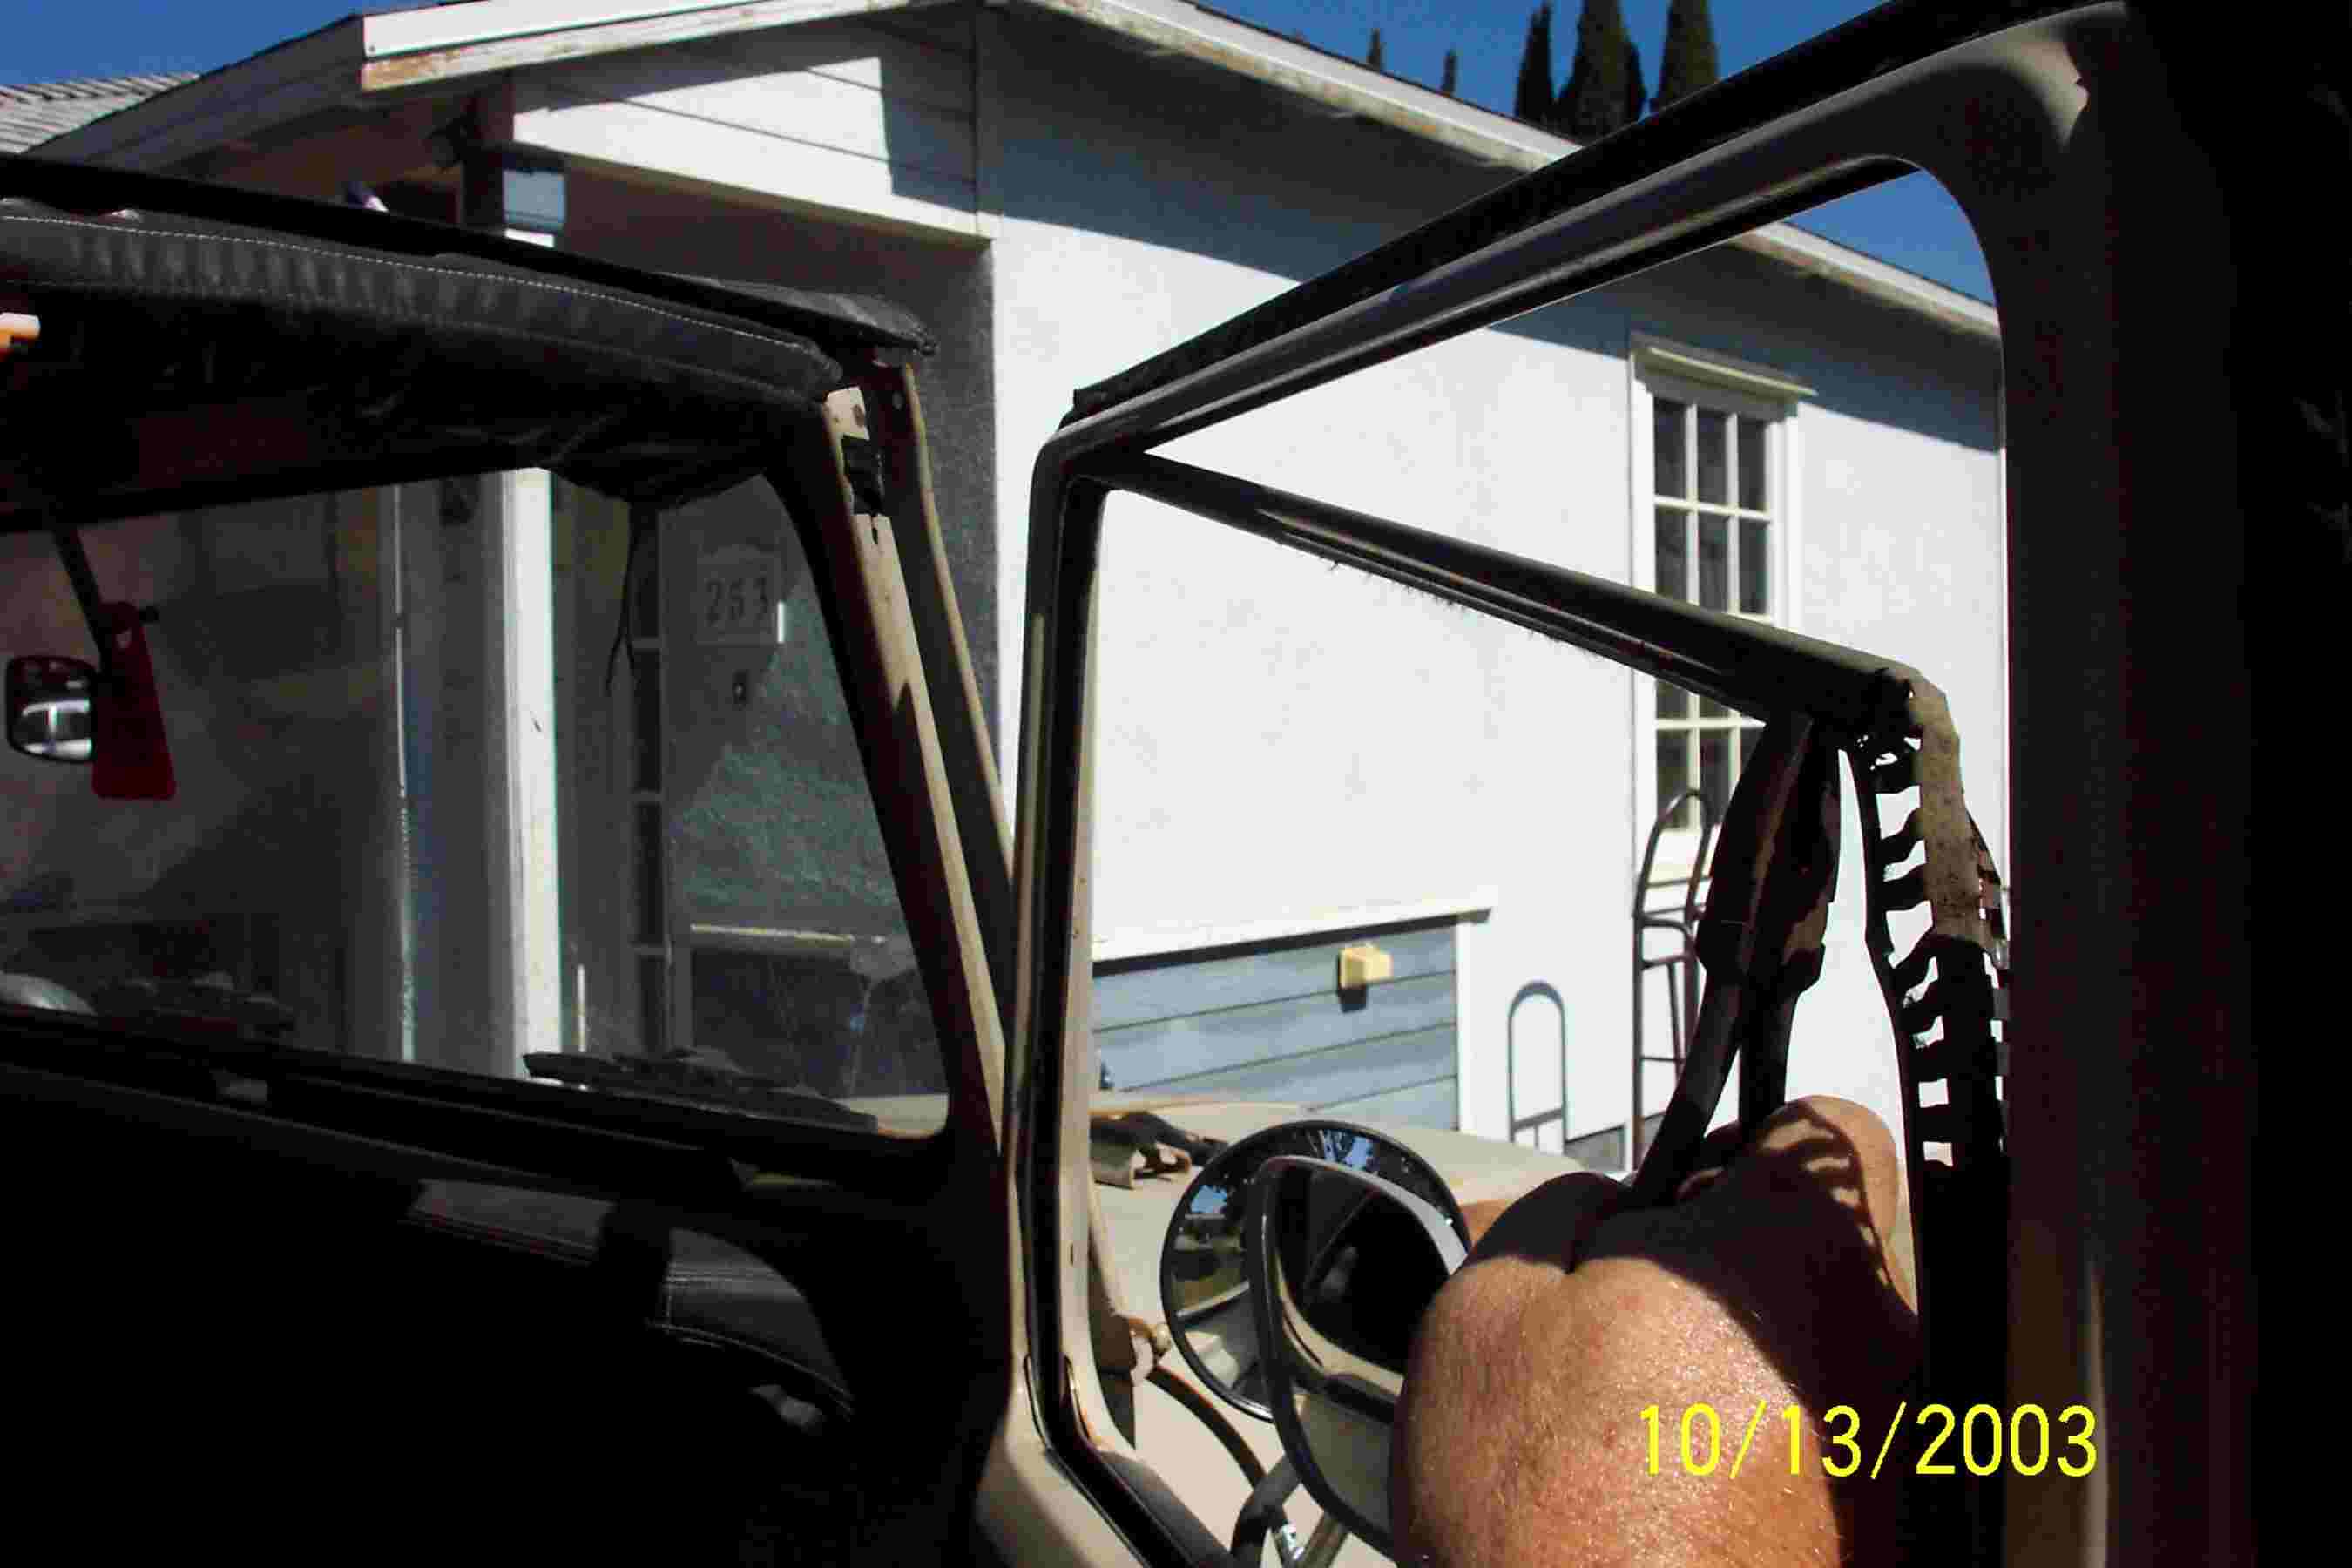
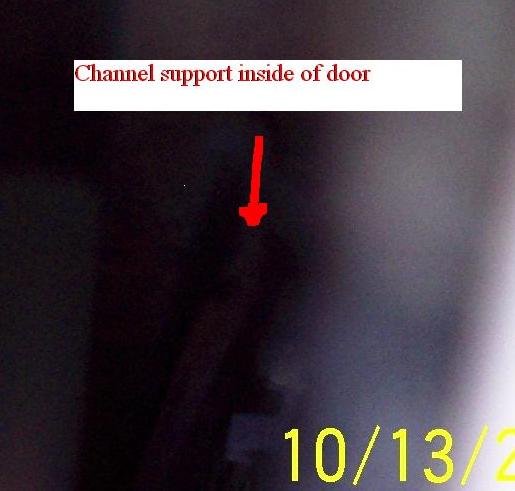
Inside the main body of the door is a U shaped channel welded to the area near the door latch. Hard to see in picture
The new channel must slide down this U shape guide. Push until the new channel bottoms out. Rolling the window up and down a couple of inches helps slide the channel down. There is a channel on the front section of the door also. Start the channel in this insert also. However, do not push all the way down. Just get it started. Bend the channel so that its is all in line with the window frame.  Move to the rear of the door and push the channel into the frame. Use a plier to GENTLY squeeze the open end of the channel together and push. Move about 2 inches and continue to push the channel in. As the channel is inserted, the section at the front of the door will continue to move down into the door. Once all the channel is in the frame, rolling the window up and down several times will seat the channel.